Welcome, and today we are going to be talking about LED heat sinks. In short, heat sinks provide an efficient path for heat to be transferred from an electronic device to ambient air. They do this by increasing the surface area in contact with the air, providing more area for the hot device to transfer energy to the cooler air around it.
Some of the most commonly recognized heat sinks are:
- Board level
- BGA versions
The concepts behind heat sinks are incredibly straightforward, and their usage is not too much more complicated.
Also Read: Aluminum die casting for LED heat sinks
LED Heat Sink Cost
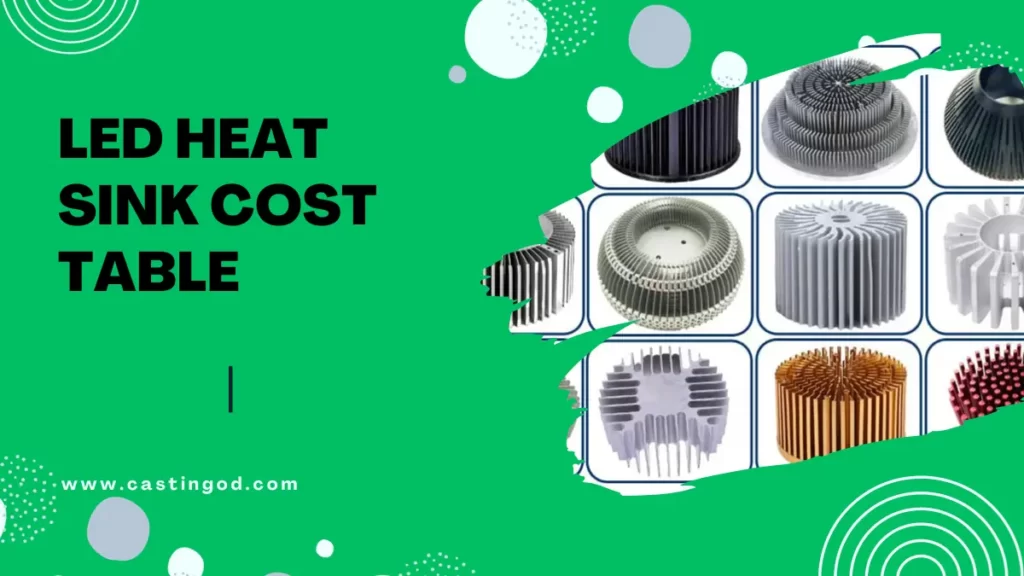
Table of LED heat sink prices based on material, size, and complexity:
| Material | Size (mm) | Complexity | Price (USD) |
| Aluminum | 20x20x10 | Simple | 2-5 |
| Aluminum | 30x30x15 | Simple | 5-10 |
| Aluminum | 40x40x20 | Simple | 10-15 |
| Aluminum | 50x50x25 | Simple | 15-20 |
| Copper | 20x20x10 | Simple | 5-10 |
| Copper | 30x30x15 | Simple | 10-15 |
| Copper | 40x40x20 | Simple | 15-20 |
| Copper | 50x50x25 | Simple | 20-25 |
| Aluminum | 20x20x10 | Complex | 5-10 |
| Aluminum | 30x30x15 | Complex | 10-15 |
| Aluminum | 40x40x20 | Complex | 15-20 |
| Aluminum | 50x50x25 | Complex | 20-25 |
| Copper | 20x20x10 | Complex | 10-15 |
| Copper | 30x30x15 | Complex | 15-20 |
| Copper | 40x40x20 | Complex | 20-25 |
| Copper | 50x50x25 | Complex | 25-30 |
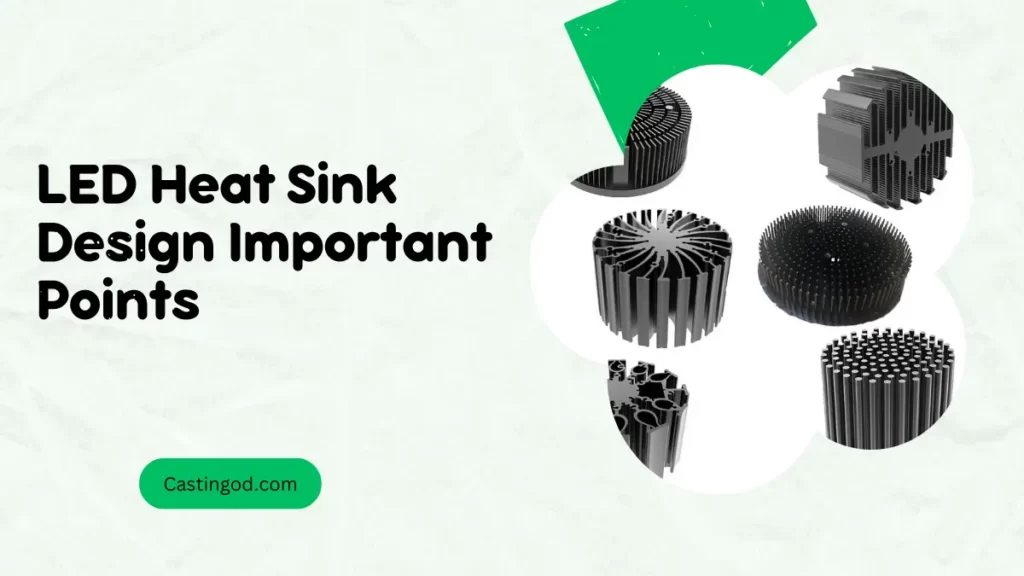
LED Heat Sink Design Important Points
| Design Consideration | Explanation | |
| Heat Dissipation Requirements | Carefully evaluate the heat dissipation requirements of the LED lighting system to ensure the selected heat sink can effectively transfer heat away from the LED chips. | |
| Material Selection | Aluminum is the most common and cost-effective choice for LED heat sinks due to its balance of thermal conductivity and affordability. Copper offers superior thermal conductivity but may be more expensive. | |
| Surface Area Maximization | Increase the surface area of the heat sink to enhance heat transfer. This can be achieved by using fins, ribs, or other extended structures. | |
| Fin Design | Optimize the fin design by considering fin spacing, thickness, and height to achieve maximum heat dissipation while minimizing airflow resistance. | |
| Thermal Interface Material (TIM) | Utilize a high-quality TIM to fill gaps and imperfections between the heat sink and the LED package, ensuring optimal thermal contact. | |
| Mounting Mechanism | Design a secure and reliable mounting mechanism that firmly attaches the heat sink to the LED package or mounting surface. | |
| Airflow Considerations | Ensure adequate airflow around the heat sink to facilitate efficient heat transfer. This may require incorporating fans or designing for natural convection. | |
| Noise Reduction | If using fans, consider noise-reducing strategies such as low-noise fans, fan shrouds, or fan controllers. | |
| Cost Optimization | Evaluate the balance between cost and performance. Consider alternative materials, simpler designs, and volume discounts to optimize cost without compromising thermal performance. | |
| Safety and Reliability | Ensure the heat sink design complies with safety standards and is durable enough to withstand the operating environment. | |
| Testing and Validation | Conduct thermal testing to validate the heat sink’s performance and ensure it meets the specified cooling requirements. |
Led heat Sink Selection
Let’s jump right into it and talk about what to consider when deciding whether or not you even need an LED heat sink, and how to size your heat sink if you do. There will be some math required to do this but only basic addition and multiplication, so nothing to worry about.
Let’s work through the process using an example and assume we use a TO-220. These through-hole packages are often used in power electronics for 3 terminal devices such as transistors.
The TO-220 has the silicon device encapsulated but with a metal base plate. It is sometimes used for ground connections and also provides an excellent point on which to mount a heat sink. It should say in the datasheet exactly how the metal plate is connected electrically.
LED Thermal Management
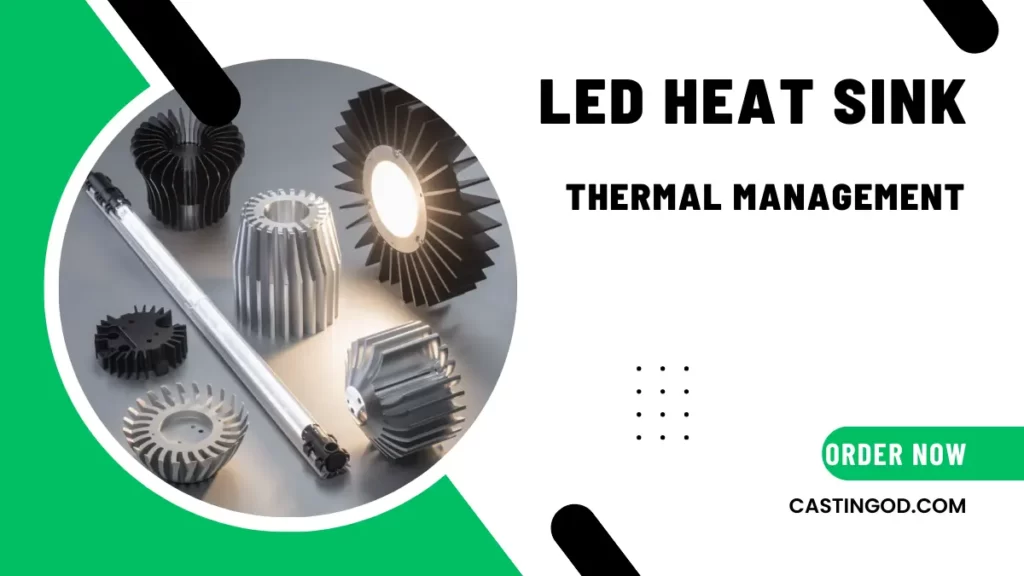
Therefore, I highly recommend you look into it. A critical portion of these calculations is LED thermal management. Thermal impedance is just the measure of how easily heat can transfer from one point to another.
Without an LED heat sink, the junction between a TO-220 device and ambient air can be upwards of 70 degrees Celsius per watt. For our example, we’ll assume that our package has a junction-to-ambient thermal impedance of 55.
Again, this means that the junction temperature will increase 55 degrees above ambient temperature for every watt of power dissipated. Let’s establish the rest of the assumptions and then do the math.
LED Heat Dissipation

We’ll arbitrarily say we need to dissipate 2.42 watts. Our ambient temperature will be no greater than 60 degrees Celsius, and we need to keep the silicon below 125 degrees Celsius. Now, those numbers are all we need to find out if our TO-220 device will get too hot without a heat sink.
We simply multiply the watts dissipated by our thermal impedance, or 2.42 watts by 55, which gives us 133.1 degrees. Add that to our ambient temperature of 60 degrees and we get 193.1 degrees Celsius, well above the required 125 degrees. So, that isn’t going to work.
Now, using that same math in a different direction, we can figure out how much we need to drop the thermal impedance path to keep us in safer temperatures.
So, let’s go backward. We can have no greater than a 65-degree rise, and, in this sample, we can’t drop the power requirements. So, a 65-degree rise divided by 2.42 gives us 26.9 degrees Celsius per watt. Now, we will round that down to 26 to give us a little cushion and give us less decimal points to worry about.
Unfortunately, adding an LED heat sink complicates things because there are now more junctions to worry about. Fortunately, it only requires some addition to add the impedances together.
Instead of worrying about the device-to-air junction, we need to know the silicon-to-case impedance, case-to-heatsink junction, and finally the heatsink-to-ambient air.
Silicon-to-case Junction Impedance
The silicon-to-case junction impedance will be provided by your device datasheet, it’s typically between .5 degrees per watt up to 4 degrees per watt. Let’s say .5 degrees Celsius per watt for our example.
The case-to-heatsink impedance will be based on the LED thermal interface material, or TIM, which is the typically gray paste that smooths the very small imperfections in a surface so that the tab on the package and the heat sink have optimal surface area contact. This is dependent on both the thickness of the TIM and the surface area of the contact.
Finally, the heat sink-to-air thermal impedance will also be found in the datasheet, which for this sample, we find that this heat sink with no fan blowing air over it, is 14.36.
Now we have the thermal impedances of all three junctions, which we can now add together. The sum of these items is .5 + .5 + 14.36 which gives us 15.36 and is well under our maximum value of 26 required.
Looking at these results, we could either choose a smaller LED heat sink or leave it alone. It is good practice to leave some headroom, so you don’t approach your temperature limit, if at all possible.
Just a quick calculation of the performance we should expect with 15.36 degrees Celsius per watt, you would get 2.42 times 15.36 degrees per watt to see a temperature increase of 37.2 degrees over ambient, which, as a reminder, is 60 degrees. So, if our assumptions all hold up, we should never go over 97.2 degrees Celsius.
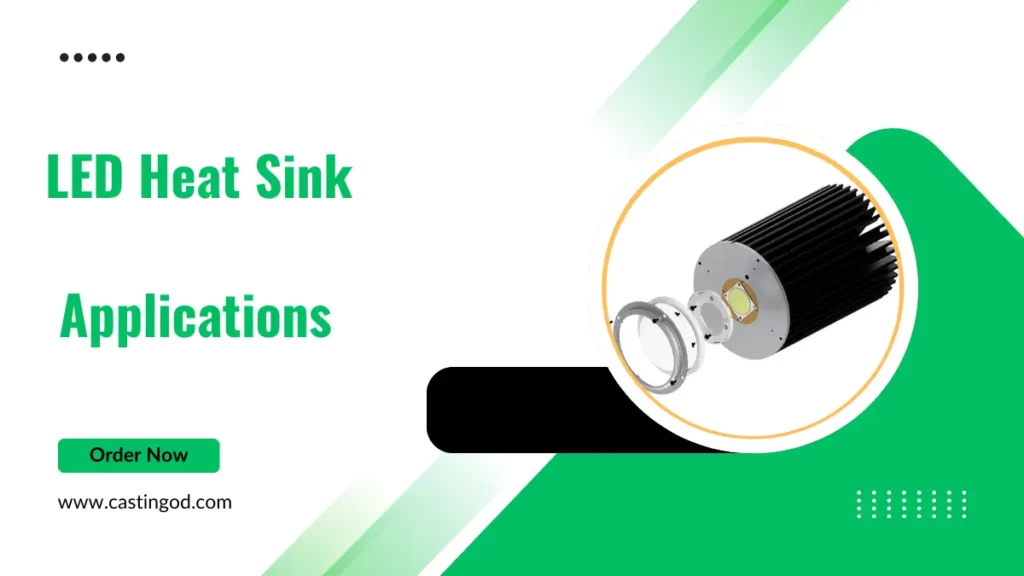
LED Heat Sink Applications
| Application | Description | Heat Sink Requirements | |
| High-Power LED Lighting | Industrial lighting, architectural lighting, stadium lighting | High thermal conductivity, large surface area, robust design | |
| Medium-Power LED Lighting | Commercial lighting, residential lighting, street lighting | Moderate thermal conductivity, medium surface area, reliable design | |
| Low-Power LED Lighting | Task lighting, decorative lighting, accent lighting | Low thermal conductivity, small surface area, cost-effective design | |
| Automotive LED Lighting | Headlights, taillights, interior lighting | Compact design, vibration resistance, environmental protection | |
| Electronic Devices | Power supplies, computer components, telecommunications equipment | Heat dissipation tailored to specific device requirements, adaptability to various packaging styles | |
| Medical Devices | Lasers, surgical equipment, diagnostic instruments | Precise temperature control, high reliability, biocompatibility | |
| Aerospace Applications | Satellite components, aircraft lighting systems | Lightweight design, high thermal conductivity, resistance to extreme temperatures |
Summary

You can see how adding the LED heat sink significantly drops the thermal impedance and keeps the device much cooler, well below the 125-degree threshold mentioned earlier. Heat sinks can be the difference between failure and success and if you don’t need a heat sink, don’t just make that assumption.
Running the numbers on whether or not you need a heat sink is a straightforward process whose most time-consuming step is finding those values from datasheets, and you will greatly increase your peace of mind if you do the calculations.

